The Grainline x Fringe Supply Co. Field Bag Has Arrived

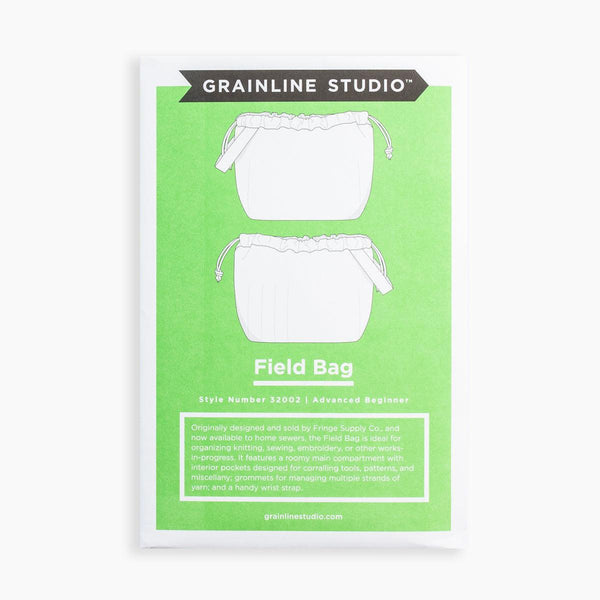
I was thrilled to learn about the newest Grainline Studio x Fringe Supply Co. collaboration: the iconic Field Bag in a sewing pattern!
We all know and love the Field Bag (and if you don't, you will want to). If you're like me, you might own a few already. They are the perfect project bag, so thoughtfully designed you want to have one for every project on the needles. Unfortunately, Fringe Supply Co. had to shutter their business last year which meant the Field Bags were no longer available. While Fringe Supply Co. may no longer be producing these bags, owner Karen Templer has partnered with Jen Beeman of Grainline Studio to release the Field Bag pattern. You can now sew your own with this new pattern!

I, of course, had to try out the pattern and create a few bags. It didn't take me any time at all to sew up two of these bags. Here are my details and notes!
Bag 1: Olive Waxed Canvas Bag
Materials: 1 yd Olive Waved Canvas
Scraps of Wound Up Canvas in color "Wool"
2 yds 1/8" cotton cording
Modifications: Didn't add the grommets
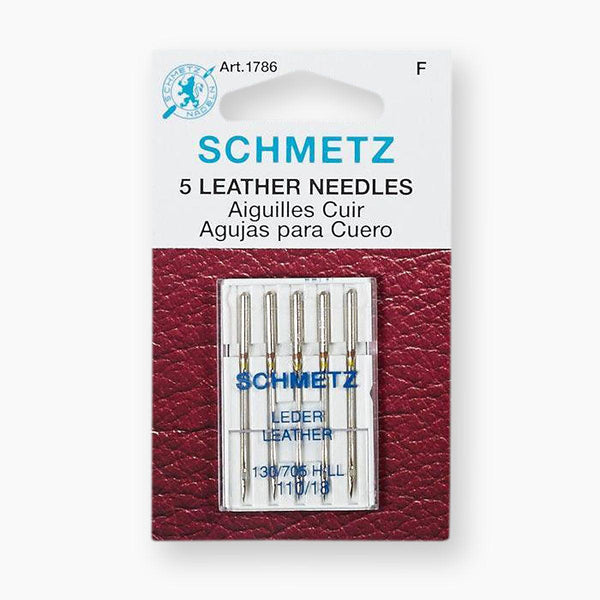
To Be Noted: Because this pattern requires sewing a leather handle on, you will need a leather needle for that part of the sewing.
My first Field Bag! It looks just like an original! This pattern is brilliant! The bag comes together in a tidy manner wherein, the bag is un-lined, but manages to finish and hide all the seams - its truly amazing! The pattern recommends at least a 10 oz canvas which is what this waxed canvas is and it does help the bag have body and stand up. I opted to leave the grommets off since I've never used the grommet yarn holes in my previously-purchased Fringe Field Bags. I used some leftover scraps for my pockets which add some fun interest on the inside of my bag. I love it!
Bag 2: Linen/Canvas Yarn Ball Bag
Materials: 3/4 yd Wound Up Canvas in Wool
2 yds 1/8" cotton cording
12" strip of 1" wide leather
Modifications: added facing to use a non-reversible print
I couldn't resist sewing a project bag up in this new Ruby Star Society yarn ball canvas print - I mean, its perfect! The Field Bag pattern is an unlined bag that thoughtfully finishes all seams and is meant to be sewn in a heavy weight canvas - these fabrics are all reversible, so I had to make a few modifications to sew a Field Bag in a canvas print that has a definite wrong and right side. Here's what I did:
-
I cut a facing for the top of my Field Bag - I cut 2 of these (one for each side) using the pattern piece and making them 3 1/2" wide.
-
Press one long edge of the facing up 1/2" to hem (towards the wrong side)
-
Sew the other, un-pressed long edge to the top of the Field Bag, right sides together, using a 3/8" seam allowance.
-
Fold sewn facing to the wrong side and press flat along the top edge of seam
-
Follow instructions for finishing the top of the bag using the newly-faced top of your bag (Note: when creating the casing for the cotton cord, you only need to press the top over 1 1/4" - you don't need to first press it 1/2" as stated in the instructions).


I love this bag! While it doesn't have the structure of the heavier canvas, it still holds it shape great once I have a project inside of it. I love having this cute print version of the Field Bag and the potential to make another one whenever I want to.
Overall, I'm thrilled with this pattern and foresee making up some Field Bag gifts in my future. Stay tuned to read my upcoming interview with creators Jen Beeman of Grainline Studio and Karen Templer of Fringe Supply Co.


Comments on this post (3)
Hi! Jaime’s instructions listed 1-4 are meant to be done first, before sewing the bag. So you cut and attach your facing, and then in step 5 you follow the pattern instructions with your faced piece of fabric. Hope that helps!
— Fancy Tiger Crafts
Would appreciate an answer to the above question 🤗
— Leslie
At what point in the pattern do you sew the facing to the main pattern piece? I tried doing it between steps 10 & 11 (after doing the pocket stuff, before folding in and sewing the corners) and felt like it added a lot of bulk to those folded corners, in addition to changing the length and angle of those folds (since that additional seam allowance has now moved the top of the fold down 3/8"). So I seam ripped and tried again, attaching it after step 12, once I’ve folded in and sewn down the top corners and sewn the sides of the bag. (This felt weird, but it’s sort of what the photo seems to suggest should happen.) But that doesn’t leave me with a way to address the raw side edges of the facing, which are also now too long, so it also doesn’t seem right. Either way I think I have a lot more seam-ripping to do… in a project that has already required a lot of it. (sigh… sewing is fun, right?)
Thanks in advance for any clarification you can offer!
— Claire