Amber's Cascade Duffle Coat
I'm thrilled with my new wooly and warm Cascade Duffle Coat! Going into this project, I anticipated that it would be more time consuming than your average garment project, but the steps were all really quite simple and my sewing machine handled the many layers of wool like a champ. By working on the coat during several short sewing sessions over the course of a month it was totally achievable. Also, the fun of sewing along with other folks making coats made the process really enjoyable. Now I'd like to introduce you to my new favorite coat!

Materials: Pendleton Melton Wool in Camel (3 yards), Liberty Tana Lawn Melting Elements (2-1/2 yards), Essex Espresso for zipper bands (1/4 yard), 22" separating brass zipper, Fusible Weft Interfacing (2-3/4 yards), 3 horn toggles, Leather scraps
Size Made: 6
Modifications: Lengthened sleeve 1.5", altered shape of patch pockets

I chose to make View B of the Cascade Duffle Coat, which is the longer length with hood. I really love the shape and fit of the hood. It is generous without being overwhelming. The size allows me to wear a shawl or scarf with the hood if I want on blustery days, which is great so I can still show off my hand knits.

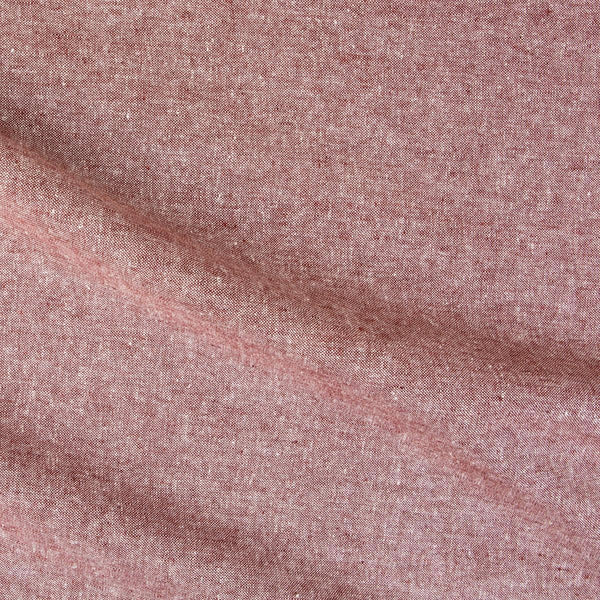
This melton wool makes this coat really well insulated from the cold. It might just be my warmest coat! Winter doesn’t stand a chance of getting through the front of the coat, because the center front zipper is sandwiched between a double layer of wool on each side. This also gives a clean and professional closure to the coat. Instead of my lining fabric, I chose to use a more neutral cotton/linen Essex for my zipper bands. The pattern doesn't call for interfacing on the zipper bands, but I'm glad I decided to interface these to make them sturdier.

It was fun to pick toggle buttons and leather to make my own toggle closures. Making them myself took a while, with epoxying leather straps in place and punching the leather stitch holes, then hand sewing the closures on. But the result is the perfect coordinating toggle closures for my coat! I chose a dark brown contrasting thread for all my topstitching to match the dark toggle closures.

The Liberty of London storm print I used for my lining makes me really happy! It’s like secret magic inside my coat.

I’m really pleased with the modification of the pockets. I'm constantly tucking my hands in my pockets, and it’s especially useful when its cold out. Instead of a plain rectangular pocket per the pattern, I created a similar sized patch pocket with an angled opening. You can see a bit about how I did this in the post from Week 2 of our sew-along.

I might change a couple things if I make Cascade again. I made the coat based on my bust measurement, which is a size 6 in the pattern chart, but I don't fall entirely in one size range. I am a size 8 at the waist and 10 in the hips, and I would have benefited from grading out to the 10 in the hip. The coat is just a tad too fitted in the hip, which you can see can cause it to ride up just a little bit in the back.

As you may know I love to wear hand knit sweaters! My coat, perhaps partially due to the heaviness of my wool fabric, is a little bit tight in the arms. I think this could be helped by two things. I might go back and line just the arms with something silkier than the Liberty, which is silky as cotton goes, but I’m thinking rayon or silk. That would allow me to get my sweatered arms in easier. If I make another Cascade, I would let out the arms just a tad to accommodate more layers.

I really love my new, classic camel hued coat! Stop by the shop to see it in person, it will be in display for your perusal for the next few weeks!


Leave a comment