
Miranda's Catnip Fish + Tutorial
Every cat that belongs to someone I love got one of these catnip fish for Christmas. If you're a beginner, here's your chance to learn about clipping corners, trimming seam allowances and invisibly hand-stitching things closed. If you're a more seasoned sewist, making these catnip fish will be super simple.

These fish are sized to be made with one 5" square each - perfect for charm packs! Feel free to take these basic techniques and make whatever shape will please your cat!

Materials
- Scissors
- Pen/Pencil
- Free Fish Stencil
- Hand Sewing Needle
- Catnip
- Thread
- Cotton Stuffing
- 5" x 5" Charm Pack
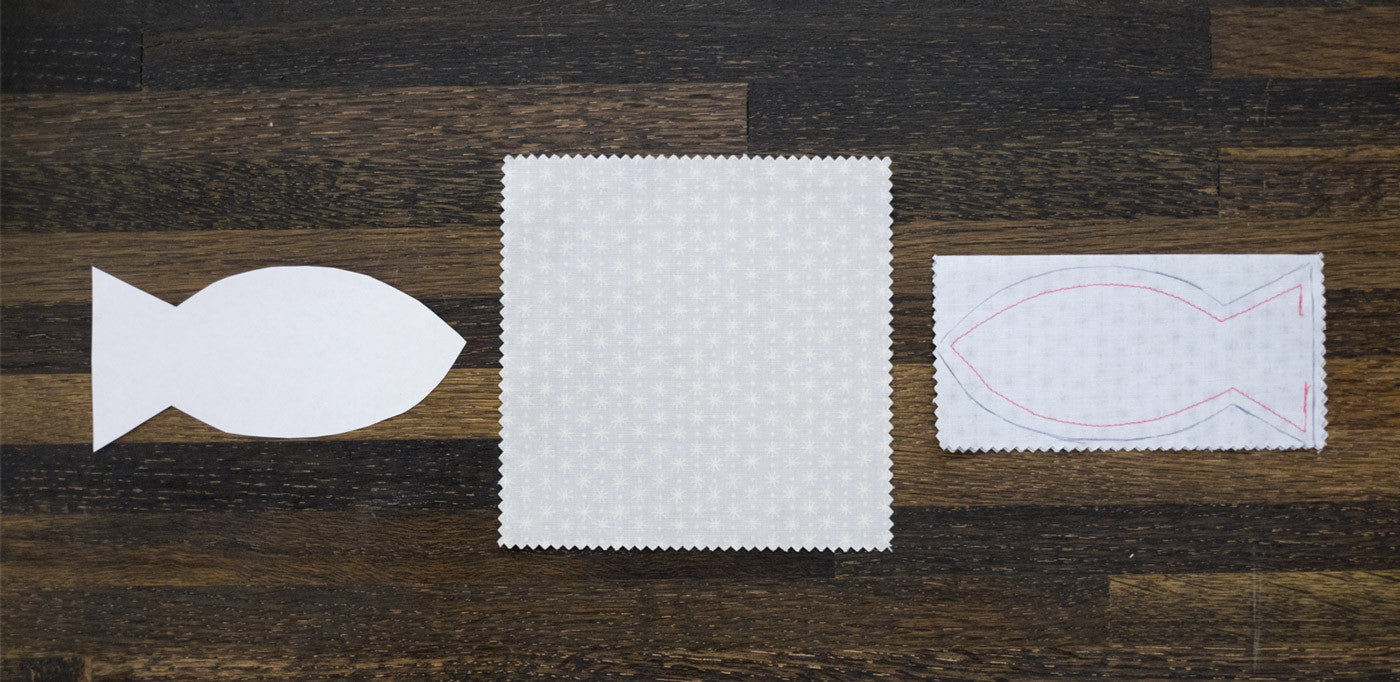
1) Trace Stencil: Take one of your 5" x 5" pieces of fabric and fold in half, right sides together. Trace the cutout stencil right onto your fabric with a pen or pencil.
2) Sew Fish: Keeping your stitch line 1/4" in from your traced outline, sew around the exterior of the fish leaving a 1 1/2" hole at the bottom of the tail.

3) Trim Seams: Using a pair of sharp scissors, trim to the line you originally traced on the outside of your stitch line. Trim the corners of the fish tail as well as the tip of fish. Clip into the round edges of your sewing to ensure a smooth seam. Turn fabric so that right side of the fabric is facing out.

4) Stuffing: Stuff each fish with about 1 Tablespoon of catnip and enough cotton stuffing to make fish full and plump. Considering layering the catnip and stuffing so that there is catnip all the way throughout, and not just clumped together in one part of the fish.

4) Sew Closed: Using a ladder stitch, or another blind stitch of your choosing, sew the bottom of the fish tail closed.
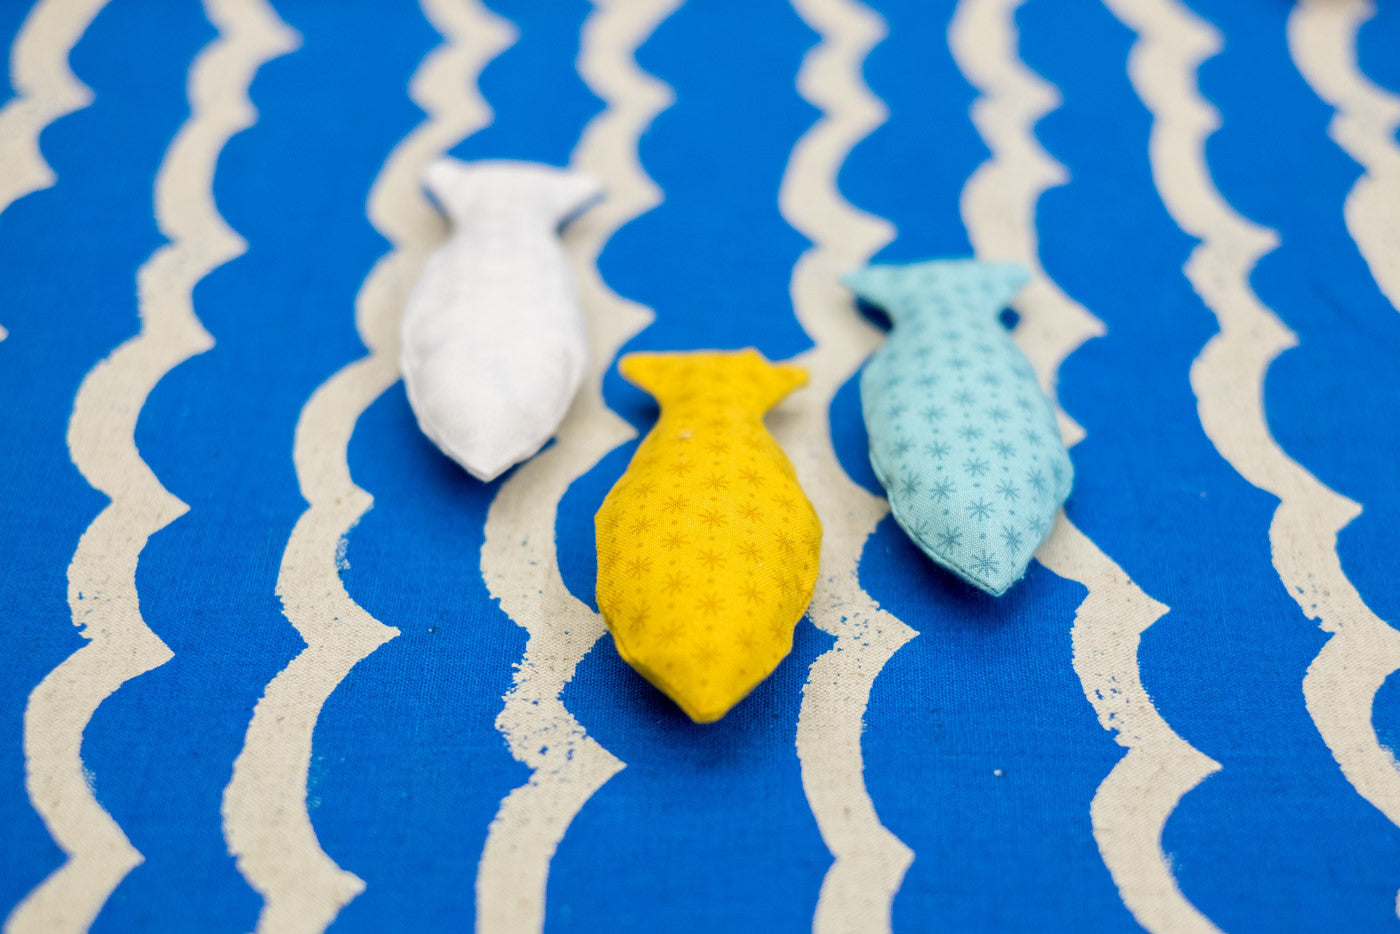
5) Finished: Watch Your Cat Fall In Love.

Leave a comment