
Marta's Magical Ice Dyed Shirt No. 1

Maker: @_martooth
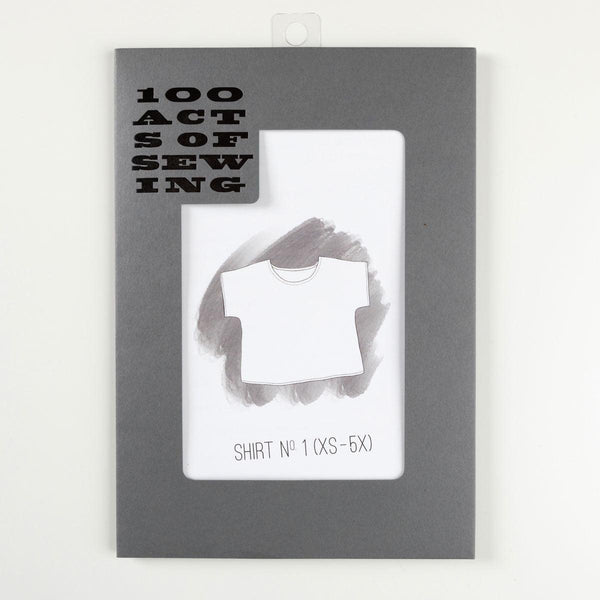
Pattern, designer: Shirt No. 1 by Sonya Philip 100 Acts of Sewing
Size: 2x
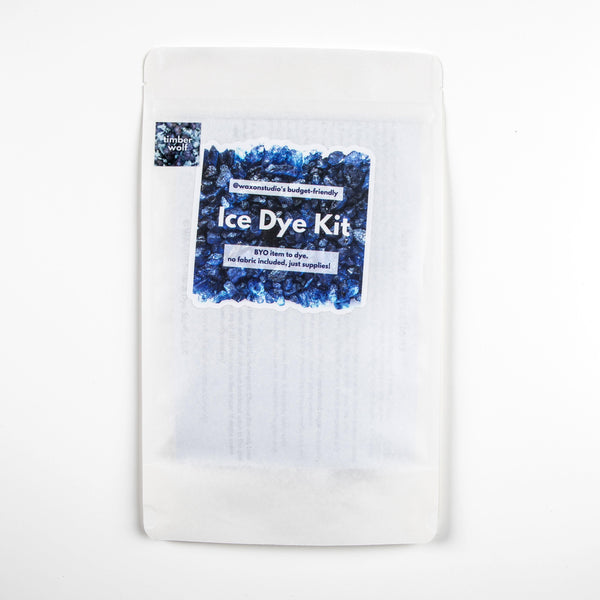
Materials: 1.5 yds Athena Gauze, Fog and 1 Waxon Studio Ice Dye Kit in Raven, synthrapol
Modifications: Shortened shirt, lengthened sleeves
Something about the autumn makes me feel a little transformational, a little experimental, a little magic, and so what better way to synthesize these feelings than with a beautiful and volatile, ice dye project?
Dreaming up this project I wanted to choose a simple pattern that would really showcase the magic of ice dye, and so I chose my old stand by, Shirt No. 1, though I did make some modifications, of course. I said I was feeling a little experimental, so in addition to cropping the shirt by about 2" (a pretty standard modification for me at this point), I also lengthened the sleeves by about 3", butting the hem up to the selvedge. I love the way that the selvedge on cotton gauze kind of crumples like like new poppy petals, and also, no hemming required! Win win.

Our cotton Athena Gauze was a perfect match for the the dye kit, which only works on plant based fibers like linen, cotton, rayon (all types- viscose, modal, tencel, bamboo), and hemp. If you've never worked with gauze, it can seem a little daunting I think due to its texture, but it's really very forgiving- just don't expect to press it completely flat and you should be fine!
As for the dyeing itself, ice dye is a really fun place to start your dyeing journey because you don't need a dedicated dye pot or really very many tools and the process is pretty easy- especially with a kit. I soaked my fabric overnight in a bucket of water to saturate the fibers- you want your fabric to be wet, but definitely not dripping, when you dye it. You can fold, clamp, scrunch, stitch, or tie your fabric before you dye to achieve different patterns and results- like tie dye or Shibori. I chose to scrunch mine for a sort of mottled, irregular, "pattern." After you've decided on how you'd like to manipulate your fabric for your desired effect, and placed it in a tub or bucket of some sort, you simply sprinkle ice over it- I used ice from my home ice cube trays that I chipped up beforehand with a hammer, but I've heard that Sonic's crushed ice is highly sought after by more dedicated ice dyers than myself. Really, whatever ice is easiest for you to get is fine as long and it's not one big block. Although, experimenting with one big block of ice might be interesting, who knows- let me know if you try it! Once you've covered your fabric with ice, you sprinkle your dye powder over it. I tried to sprinkle as evenly as possible to avoid major pooling, but I think some pooling is always going to be inevitable due to the nature of this style of dye. As the ice melts it hydrates the dye powder and saturates your fabric, and that's where the magic happens.

I let my dye batch sit for about 12 hours, but you can pull yours as soon as 3 hours after all of the ice is melted and dye is dissolved. You want to give the dye enough time to react with the soda ash for colorfastness. Ice dye is known for creating lovely flecks of different colors- the term for this is "breaking" or "broken" dye, and is a function of the dye still being in powdered form, as opposed to liquid form, in its application. I love the pinks, yellows and blues that came out of my black dye kit. It really showcases that black truly is a rainbow of color.
One Waxon Studio kit contains enough dye for about 1 yard of fabric, one shirt, or short/sleeveless dress and if you're interested in less concentrated or dense color you could stretch the kit further. I used it to dye 1.5 yards of 45" wide fabric, and I'm pretty happy with the saturation of color.

Hot tip- using a bit of synthrapol (a concentrated surfactant that helps to remove excess dye...Dawn dish detergent is a dupe!) when rinsing out your dyed fabric will make the process and little easier and faster, though it is not included in the kit.
Though a cotton gauze top might be a little light weight and breezy for this time of year, it's a great layering piece in my wardrobe. I can wear it over a tank top or under a sweater with pants or a skirt or even over a dress, depending on the weather and occasion, and it will be lovely and weightless in the spring and summer.
Leave a comment